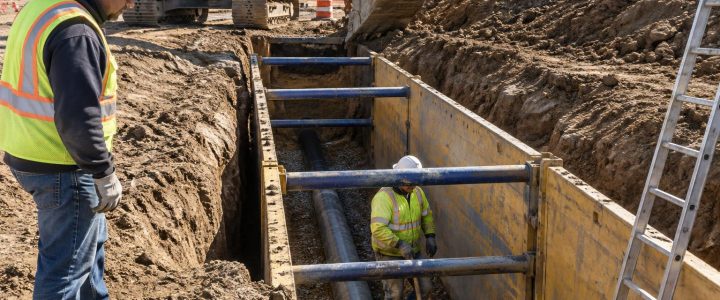
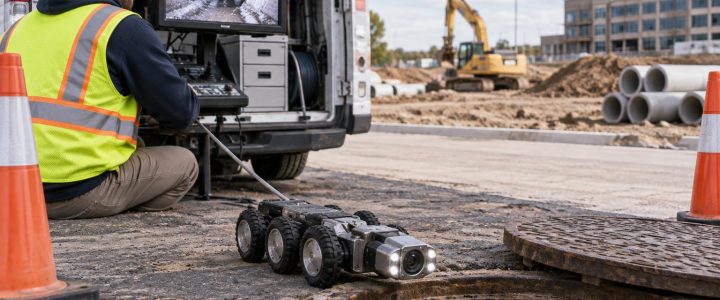
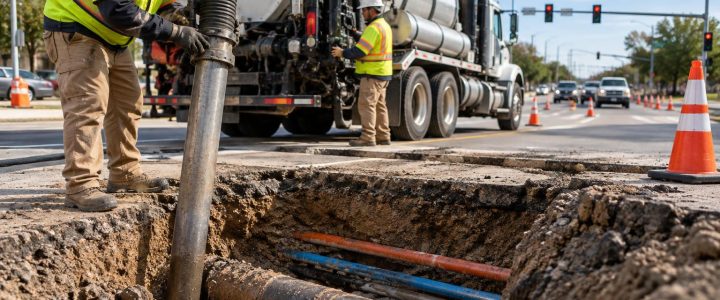
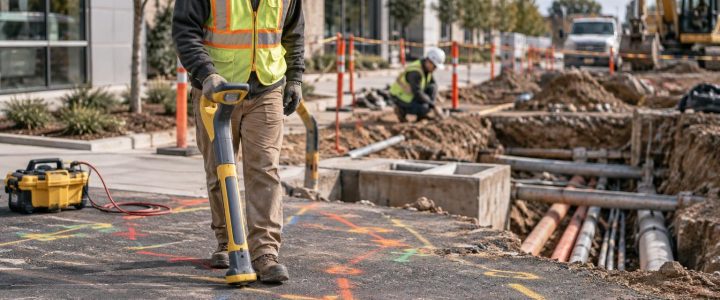
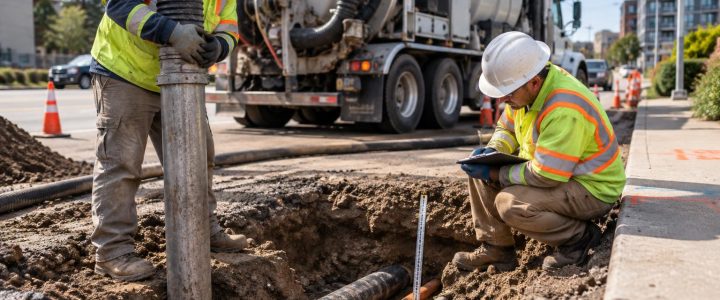
Utility test holes are most valuable when they answer a specific design or construction question. A planned test-hole program can confirm whether a utility is where the drawings suggest, determine how it crosses a proposed improvement, and provide field information that supports safer excavation.
For civil engineers, surveyors, SUE professionals, and contractors, the goal is not to dig the maximum number of holes. It is to select the right locations and collect documentation that reduces uncertainty at the points where a utility could affect design, cost, schedule, or field operations.
Vacuum excavation provides a controlled way to physically expose underground utilities. Once exposed, the utility can be observed and measured rather than judged only by record information, paint marks, or a geophysical interpretation. That distinction matters when a proposed storm sewer, foundation, bore path, roadway profile, or trench may conflict with existing infrastructure.
Start with the decision the test hole must support
Before scheduling utility potholing services, define the question each hole is intended to answer. A vague request to “verify utilities” can lead to holes that are difficult to use in design. A focused purpose produces more useful results.
Common questions include:
- Is the marked utility actually within the proposed excavation limits?
- What is the depth of a utility at a proposed crossing?
- What is the vertical separation between two crossing utilities?
- Does a pipe have the size, material, or casing shown on available plans?
- Is a duct bank made up of multiple conduits, and how wide is it?
- Can a proposed directional drill bore be routed beneath or around identified utilities?
- Does a utility enter a structure, manhole, or congested utility corridor in the expected configuration?
A test hole should be tied to a practical next step: revise a profile, adjust a crossing, establish a safe excavation approach, coordinate with a utility owner, or confirm whether more investigation is needed.
Use locating and records to target utility test holes
Historical plans, utility records, as-builts, field marks, and prior survey data are useful starting points. They should not automatically be treated as proof of present field conditions. Utilities may have been installed differently than planned, relocated during reconstruction, abandoned without complete records, or affected by later site work.
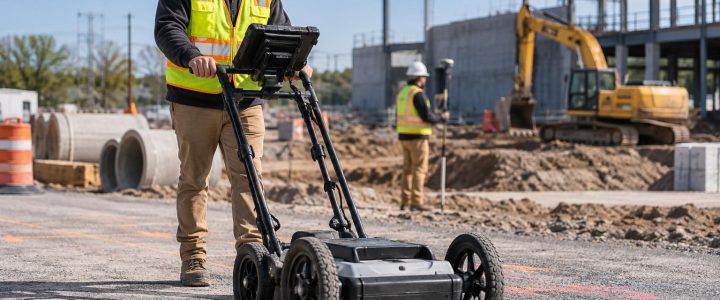
Private utility locating, electromagnetic designation, and ground penetrating radar can help identify suspected utility paths and select high-value test-hole locations. These methods may provide an interpreted horizontal position and, in some cases, an estimated depth. They do not always provide the physical certainty needed for a critical design decision.
Vacuum excavation for utilities adds physical verification. The exposed utility may allow the team to observe its actual position, outside diameter or width, material, configuration, and relationship to nearby infrastructure. If accurate coordinates or elevations are required, those observations should be paired with appropriate measurement and survey procedures.
For projects using Subsurface Utility Engineering, Quality Level B generally refers to geophysical designation of utilities, while Quality Level A involves exposing and documenting a utility at a specific point. ASCE 38-22 describes the quality-level framework for investigating and documenting existing subsurface utilities. Physical exposure alone does not automatically make every hole a complete Quality Level A deliverable; the work also depends on the project scope, measurements, documentation, and applicable SUE procedures.
Subsurface Utility Engineering and QL-B designation can help create a more informed test-hole plan before field exposure begins.
Where should utility test holes be placed?
Test-hole locations should be selected around risk points, not placed at even intervals without a reason. The proposed work, existing utility evidence, access limitations, and consequences of being wrong all affect the plan.
Proposed utility crossings
A crossing is a common reason to daylight underground utilities. If a proposed pipe, duct bank, footing, or bore must pass above, below, or beside an existing line, the project team needs more than a horizontal mark. Test holes can help establish the existing utility’s actual position and measured depth at the crossing area. When needed for design, a survey professional can obtain an elevation of the exposed feature relative to the project datum.
Changes in proposed grade or alignment
Roadway widening, drainage improvements, retaining walls, and new utility routes often introduce conflicts where proposed grades change. Test holes are especially useful where a design profile approaches an existing utility or where utility records show inconsistent depths.
Congested utility corridors
In dense commercial, institutional, urban, and industrial areas, one mark may represent only part of the underground condition. Multiple conduits, communications facilities, water, gas, electric, and drainage systems may occupy a narrow corridor. A planned series of holes can clarify the configuration at the locations that control the design.
Structure entries and connection points
Utility conditions often become more complex near buildings, manholes, vaults, cabinets, pump stations, and other structures. Test holes may help confirm entry locations, pipe orientation, duct-bank width, or the relationship between a utility and a proposed structural element.
Directional drilling and trenchless work areas
Horizontal directional drilling requires a realistic understanding of the utilities near the entry, exit, and planned bore path. Test holes should be placed where they can investigate likely conflict areas, not merely near the ends of the proposed bore. Physical exposure does not eliminate the need for a drilling plan, utility coordination, and safe work controls, but it can reduce uncertainty before the pilot bore begins.
Plan the number of test holes around uncertainty
There is no universal number of utility test holes for a project. One critical crossing may need several holes if utilities run parallel, change direction, or appear at different depths. A simpler site may require only a few targeted exposures.
A practical planning sequence is:
- Review the proposed work. Identify excavation limits, proposed grades, crossings, structure locations, bore paths, and areas where construction tolerance is limited.
- Compile available utility evidence. Compare records, visible features, utility-owner information, prior surveys, field designating, and geophysical findings.
- Identify decision points. Focus on locations where an unknown depth, alignment, size, or configuration could force a design change or create an excavation hazard.
- Rank risk. Give priority to high-consequence utilities, congested corridors, critical crossings, and areas where records conflict.
- Select hole locations and access methods. Consider pavement, traffic, landscaping, site access, restoration needs, and vacuum truck positioning.
- Define required measurements. Decide whether the project needs a measured depth, a surveyed elevation, horizontal coordinates, photographs, dimensional observations, or all of these.
- Set documentation expectations before mobilization. Field crews, survey personnel, and the design team should understand what must be captured while the utility is exposed.
This approach makes utility exposure more efficient than opening random holes after a conflict has already stopped work.
What should be documented after a utility is exposed?
Good documentation converts a temporary exposure into information that can be used by engineers and construction teams. The needed detail depends on the project, but a utility test-hole record commonly includes:
- Test-hole identifier, date, and general location
- Utility type, if known or reasonably identified from available information and observable features
- Observed horizontal position relative to project controls or physical references
- Depth measured from an identified surface reference to the top or other specified point on the utility
- Surveyed horizontal and vertical coordinates when the project requires design-ready location data
- Outside diameter, duct-bank dimensions, conduit count, casing dimensions, or other observable size information
- Observed material and configuration, such as steel, plastic, concrete, clay, cable, multiple conduits, or a casing
- Relationship to nearby utilities, including observed vertical separation at a crossing
- Photos, sketches, and notes explaining limitations or unusual conditions
- Surface type, restoration needs, and relevant access or traffic-control observations
Be precise about terminology. A depth measurement after exposure is not automatically a surveyed elevation. Likewise, a surveyed point must identify what was surveyed: top of pipe, centerline, top of duct bank, invert, or another defined feature. Ambiguous labels can create new design problems later.
Hydro excavation and air excavation: select the method for the site
Hydro excavation uses controlled water to loosen soil while a vacuum system removes the slurry. It can be productive in many soils and is widely used for utility potholing. It also creates slurry that must be managed and disposed of in accordance with site-specific requirements.
Air excavation uses compressed air to loosen soil for vacuum removal. It may be useful where limiting water use, slurry generation, or saturated spoil is important. In some conditions, air excavation can be slower or more difficult, particularly in dense, cemented, frozen, or very wet soils.
Neither method is universally best. The right approach depends on soil conditions, depth, groundwater, utility sensitivity, access, surface restoration requirements, weather, environmental controls, and the information the project needs. A qualified vacuum excavation contractor can help assess the practical tradeoffs before work starts.
How vacuum excavation reduces risk around utilities
Conventional mechanical excavation can remove soil quickly, but it provides less control when the bucket approaches a known or suspected utility. Non-destructive excavation is intended to reduce the risk associated with exposing utilities by using controlled soil removal and vacuum recovery around the target area.
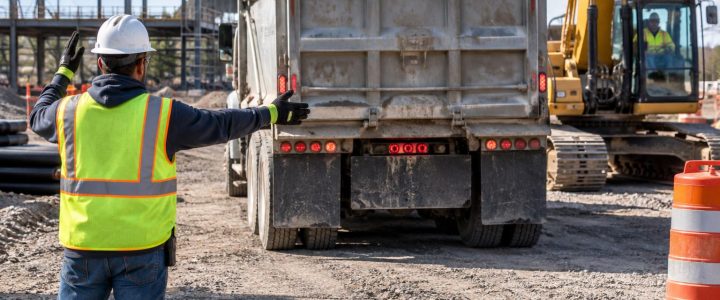
That does not make the work risk-free. Vacuum excavation remains an active excavation operation. Crews still need accurate utility information, suitable equipment, trained operators, appropriate exposure techniques, work-zone controls, and a plan for changing conditions. Hard soils, unknown obstructions, groundwater, limited access, traffic, deep excavations, and crowded underground corridors may affect the work method and schedule.
Common utility potholing mistakes to avoid
- Testing only the utility’s estimated route. A locating mark or record line may not represent the exact physical alignment.
- Measuring depth without stating the reference point. Note whether depth is measured from pavement, finished grade, existing grade, or another defined datum.
- Failing to capture the crossing relationship. At conflict points, document which utility is above or below and the measured separation when observable.
- Assuming material from a locate signal. Electromagnetic locating and GPR can support designation, but physical exposure is generally needed to observe material and configuration.
- Closing the hole before required survey is complete. Coordinate the survey workflow so design-critical information is captured while the utility remains visible.
- Ignoring restoration and disposal planning. Pavement repair, landscape restoration, spoils, slurry, and site access should be addressed before mobilization.
FAQ: planning utility test holes
Can a utility locator provide the same information as a test hole?
Not always. Locating methods can identify and trace many utilities and may provide estimated depth information under suitable conditions. A test hole physically exposes a utility, allowing direct observation and measurement of characteristics such as position, depth at that point, size, material, and configuration. Both methods often work best together.
Does a test hole provide an exact utility elevation?
It can support elevation verification, but the exposure itself does not create a surveyed elevation. When a design requires precise coordinates or elevations, the exposed utility should be measured and surveyed using the project’s required control, datum, and documentation procedures.
Can vacuum excavation expose every utility?
No. Results depend on the available evidence, soil, depth, access, congestion, utility condition, and site constraints. A planned investigation improves the chance of obtaining useful information, but no method guarantees that every underground feature will be identified.
Turn field exposure into better project decisions
Well-planned utility test holes give project teams a clearer basis for design and construction decisions. They can help confirm whether a conflict is real, identify where a proposed route needs adjustment, support safe excavation planning, and document conditions that drawings alone may not show.
For projects in Pennsylvania, New Jersey, Delaware, Maryland, New York, and the Washington, D.C. to New York City corridor, Visionary Subsurface Solutions provides vacuum excavation and QL-A utility exposure services to support targeted utility verification. Contact our team to discuss your proposed work, available utility information, and the test-hole documentation your project needs.
For further reference on SUE quality levels and utility investigation practices, see the ASCE overview of ASCE 38-22 and the Federal Highway Administration’s SUE resources.